What it is:
This is a small all in one digital AMP project. The base is an Arduino Uno. The Arduino Uno might not be very powerful but it is remarkable what it is capable of. The AMP is programmable and you are able to design a whole variety of effects. The system is portable because it can be powered by battery. The AMP was mounted into an old broken guitar AMP but also tested with a HIFI speaker. The AMP features a LCD display and buttons to choose the effects. The project was inspired by the guitar pedal from Electrosmash https://www.electrosmash.com/pedalshield-uno.
Features
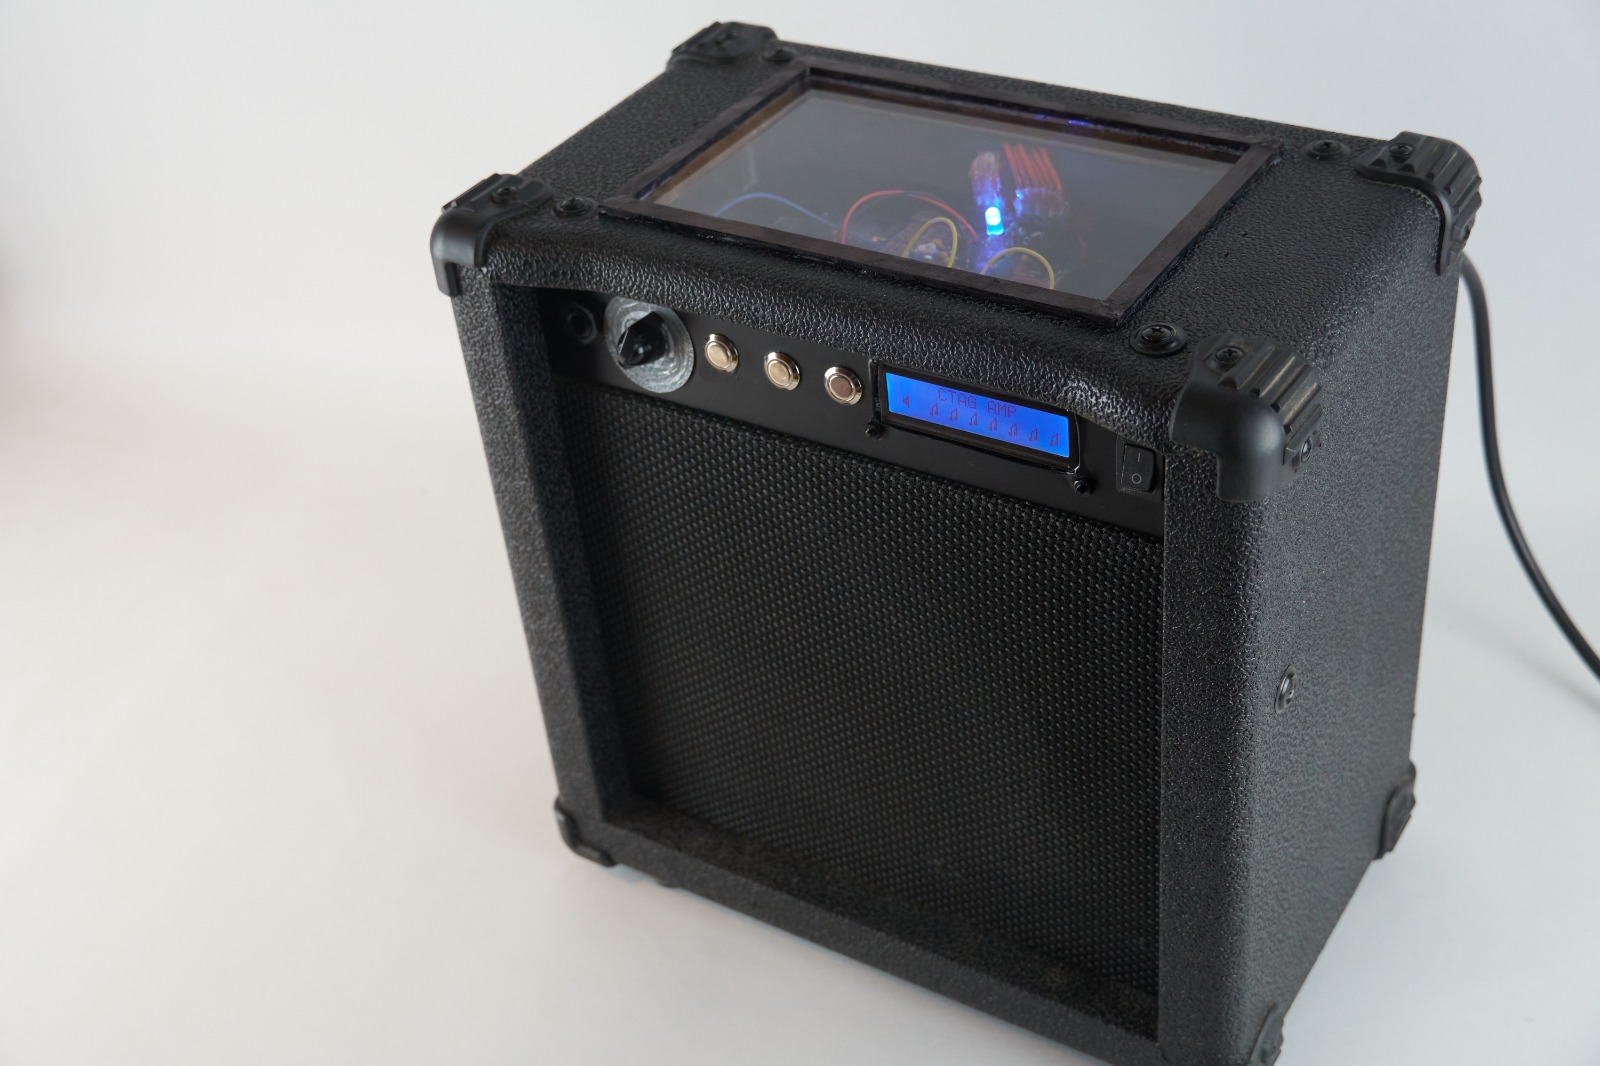
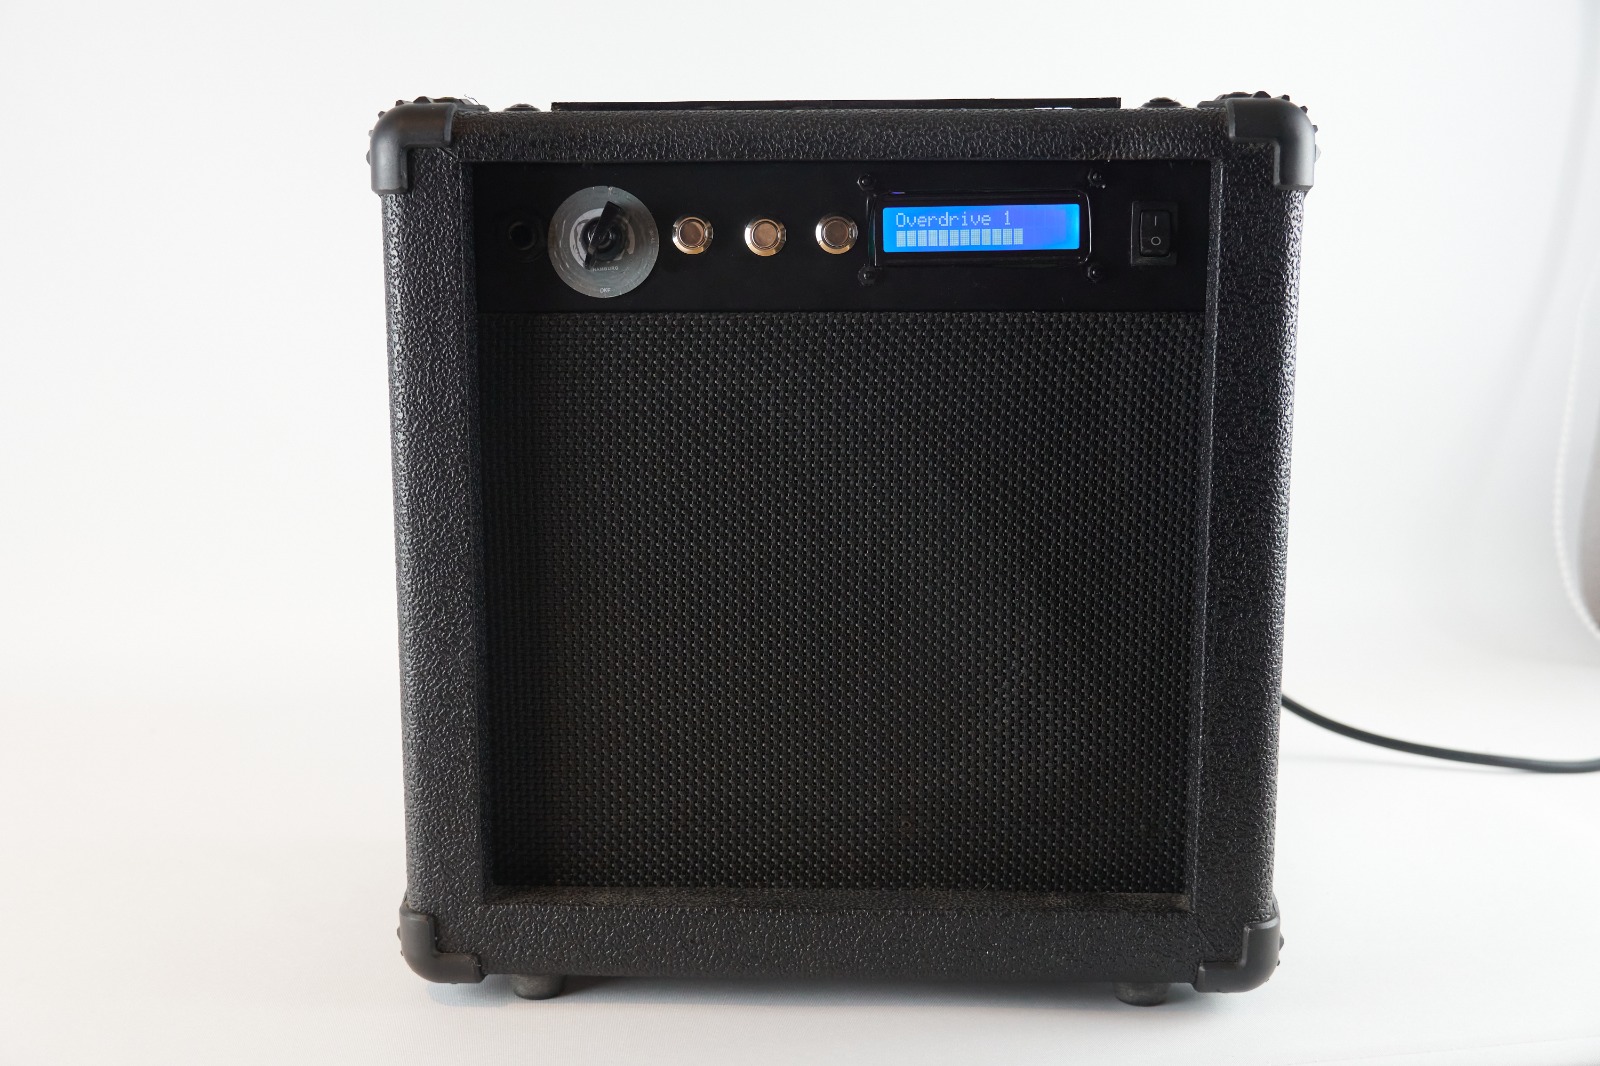
The AMP can be used like any normal guitar AMP. From left to right there are a guitar input jack, a volume poti, three
control buttons, a display and the on/off switch. The input jack is a standard guitar input jack. Every standard guitar cable can be plugged in. The first button chooses the effects. The second and third
one set the level of the effects. The display is a standard 2×16 display. The top line shows the current effect.
The bottom line shows the chosen level. Inside there is a 15W guitar speaker included.
Flashing new software is possible using the included USB connector.
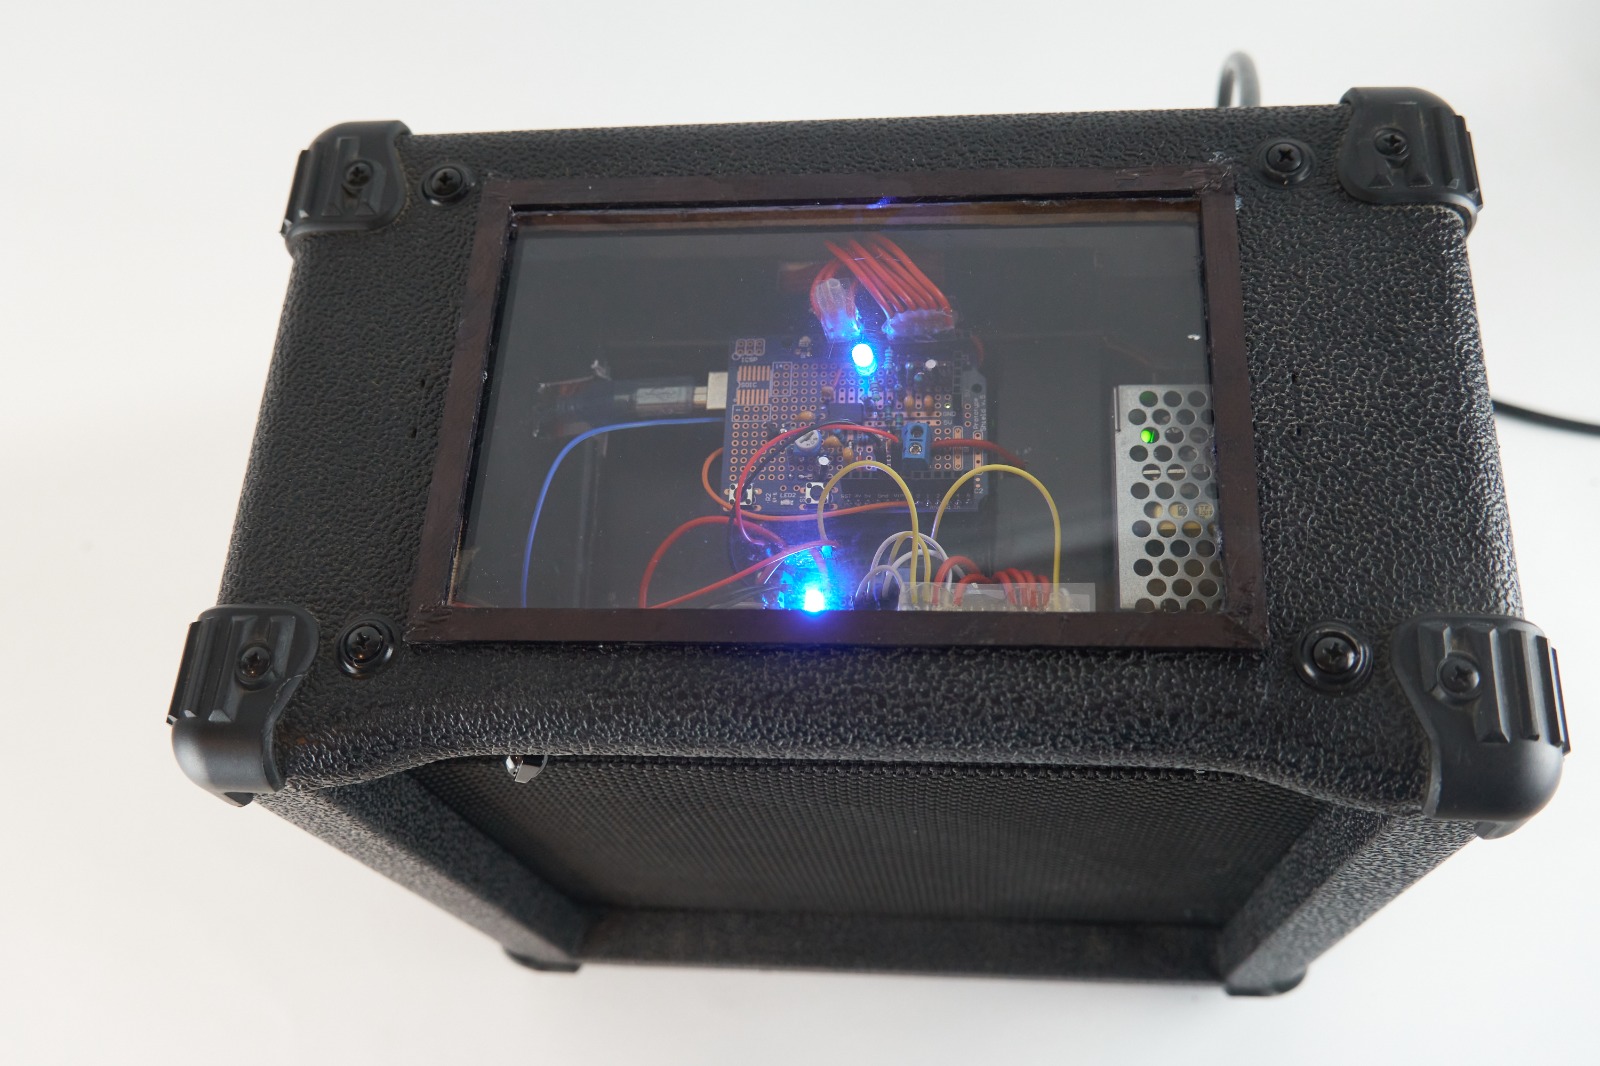
For demonstration I inserted acrylic glass in the top of the guitar AMP to show the soldered circuit inside.
Challenge
The Arduino Uno is not very powerful. Especially the memory and core speed are limited resulting in a short reverb for example.
It has to be coded very efficiently to get a good performance. It is possible to improve the speed by using a more modern
microcontroller like an ESP32.
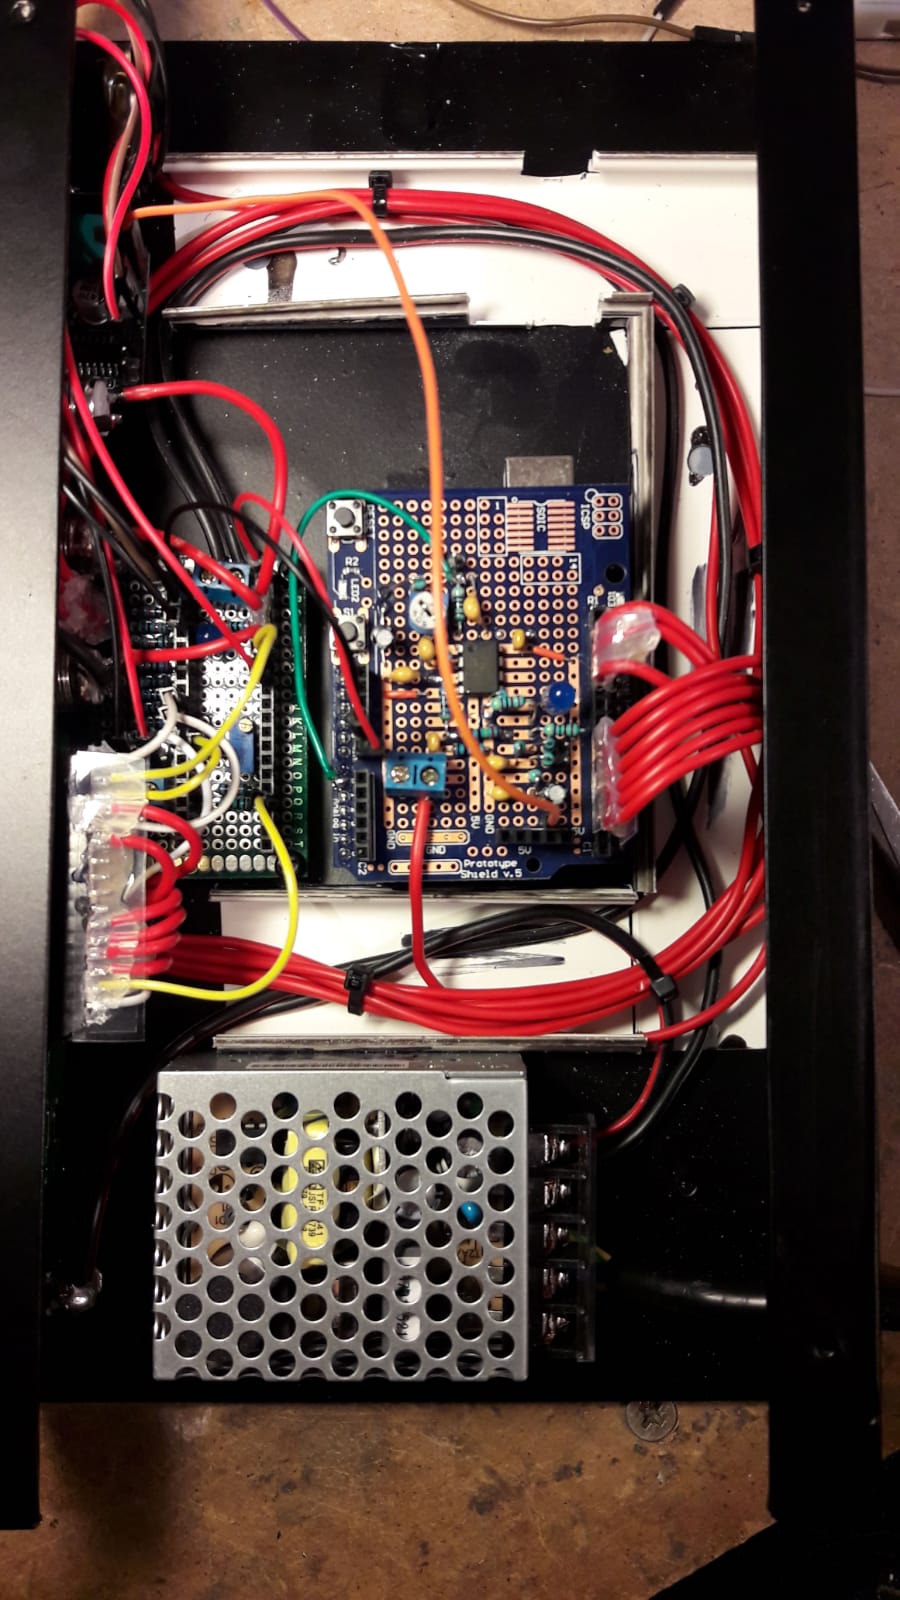
Hardware/Circuit
The AMP can be divided in six different areas.
- Power supply: 230V to 5V 3A
- Input: The input is where the guitar is plugged in. The main goal of this section is to prepare the incoming guitar
signal for the Arduino ADC. There are filters to flatten the signal. A voltage devider raises the DC offset to 2.5V.
The signal amplifier boosts the input guitar signal to 5V. - Arduino UNO: This is the core of the circuit. The incoming signal from the ADC gets manipulated in the Arduino. The AMP uses all interrupt
capacities to get a clean ADC signal and to prevent any delay. - Output: There are two combined pwm outputs to get a high resolution output of 16bit followed by some filters to minimize the noise of the pwm.
- Speaker/Class D AMP: The output is executed by a class d amplifier. Inside the AMP is a 15W guitar speaker.
- Controls: There are three buttons to choose between the effects and the level. There is a display the show the choice of the user.

Effects
- Volume
- Boost
- Overdrive
- Positive hard clipping
- Positive soft clipping
- Bias level soft clipping
- Bias level hard clipping
- Bias positive hard clipping
- Distorsion
- Soft distorsion with clipping
- Hard distorsion using math formula
- Reverb
- Tremolo
- Sine wave tremolo
- Triangle wave tremolo
- Crazy sound (using delay in the signal)
Sources:
Author:
Sönke Beyer 2020